

Canon 5D Mark II - Over and Under Exposure Tests
/Canon 5D Mark II - Over and Under Exposure Tests from Ben Cain / Negative Spaces on Vimeo.
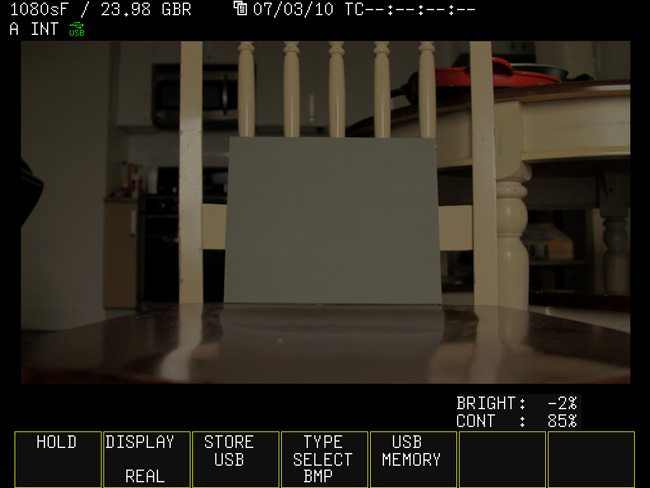
I really like this little camera but the latitude feels a little thin to me. I want to know how far I can push it and how many stops over and under I can record before running into problems so I did this test exposing the gray card / chip chart to key and then over and under exposing by 5 stops each.
This is a full resolution 1080 video file so watch it full screen in HD to really see what's happening in the images.
ISO 200, bracketing was done with the iris and shutter. The charts are slightly hotter in the upper center. A soft, even source like a Diva would have been better for this test but all I had at the house was a tweenie. The difference is about 3-5%, not enough to compromise the test so I'm just going to go with it.
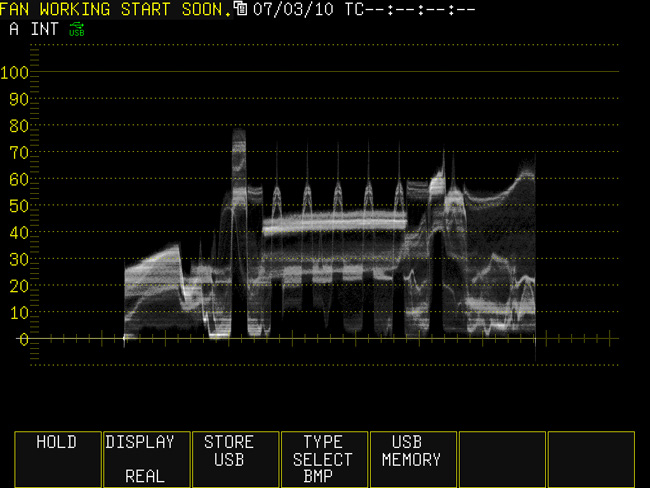
Key Light: Gray card is at 50 IRE. The gray card is even across the parade indicating correct white balance at 3000k. We have some highlight and shadow information in the grayscale and a full range of hues in the Macbeth. Even at optimum exposure, you can see the codec is having trouble with the shadows. The last 4 swatches on the grayscale are clipped down to one. It's important to also include a color reference in tests like these because you want to see how much chroma information is retained in the highlight and shadow portion of the signal.
1 Stop Over: Nothing to worry about.
2 Stops Over: We're still good though we're starting to lose our peak highlights. Look at the skin tone swatches though, they're getting close to the edge. This means you really need to watch the contrast on the face or else the limitations of the codec become apparent. Skin tones even at 90 IRE are crippled even though they aren't clipped. You'll never get the full range of tone back that you could have captured with a correct exposure.
3 Stops Over: Highlights are gone. A lot of our chroma information is gone as well though we're still retaining some of the darker values. Gray card is almost at 100 IRE. 3 stops over and we're right on the edge.
4 Stops Over: Gone
5 Stops Over: Even more gone.
1 Stop Under: Nothing to worry about.
2 Stops Under: Still in the zone though we're starting to see some noise in our darker values, darker colors, and skin tone swatches. If you don't want a lot of noise in your faces, you can't be too contrasty. Based off these test, anything more than a 3:1 is compromised.
3 Stops Under: Dark values are crushed. Still retaining some color information but noise is getting worse.
4 Stops Under: Gone. There's no way to get any useable information out of this.
5 Stops Under: Even more gone.
In my assessment, the Canon 5D Mark II has about 5 stops of solid latitude and about another stop where you're retaining some information but from there it falls off very fast. Let's call it 6 stops dynamic range to be fair.


 © 2021 Bennett Cain / All Rights Reserved /