© 2009 NegativeSpaces (revised January, 2014)
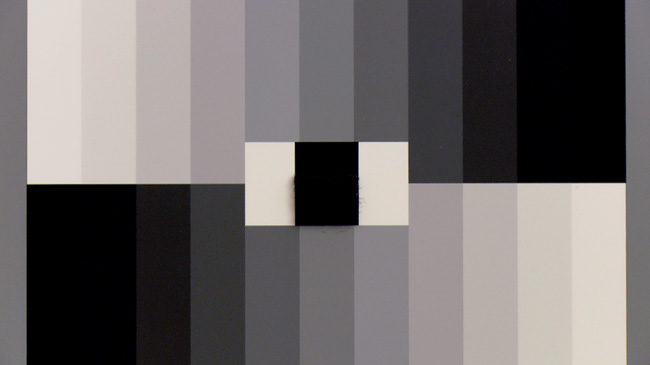
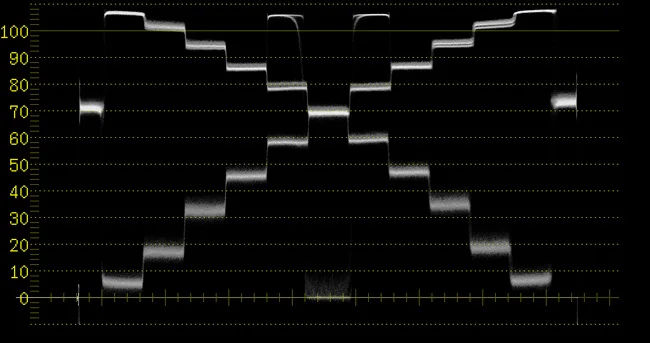
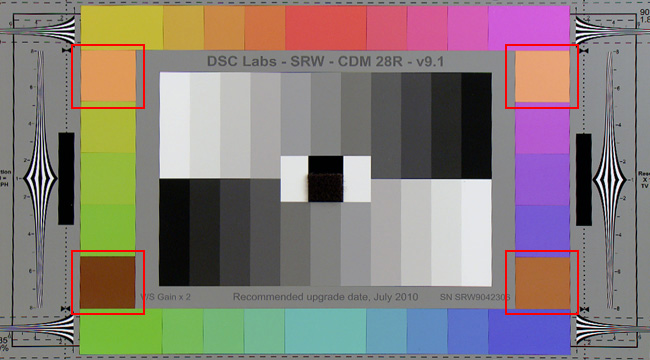
It’s late. I’m jetlagged, sleepless, and sitting in a hotel room. There's nothing on TV but I’ve got a Sony EX3, a Leaderscope, and a 11 step grayscale chart. Let’s talk about video luminance, or “Luma” as it’s more correctly known.
I'm sure there's a more elaborate definition out there but this one from Wikipedia sums it up nicely.
“Luma represents the brightness of an image (the “black and white” or achromatic portion of the image). Gamma-Compressed Luma is paired with Chroma to create a video image. Luma represents the achromatic image without any color, while the chroma components represent the color information. Converting R'G'B' sources (i.e. the output of a 3CCD camera) into luma and chroma allows for chroma subsampling, enabling video systems to optimize their performance for the human visual system. Since human vision is more sensitive to luminance detail ("black and white", see Rods vs. Cones) than color detail, video systems can optimize bandwidth for luminance over color."
Luma is measured on a waveform monitor by either a millivolt (mV) or IRE (%) scale. IRE is intuitive because it represents the percentage of light to dark and for HD Video that scale is from 0-109. 0% brightness, 0 IRE, is black. 100% brightness, 100 IRE, is white. 109 IRE is super white (basically some head room for your highlights). Makes sense to me.
Luma together with Chroma make up the HD video image and for engineering purposes both can be manipulated individually with the correct menu settings. Color is controlled by the camera's LINEAR MATRIX, COLOR CORRECTION, RGB GAIN (white balance), RGB PEDESTAL (black balance) settings whereas Luma/Brightness is controlled with GLOBAL GAIN, PEDESTAL, GAMMA, BLACK GAMMA, and KNEE. Some cameras have slightly different nomenclature or menu features but these are the basic and universal controls for manipulating video Luma. Use these Luma Control tools to affect the image's Tonal Response or how Shadow, Mid Tone, and Highlight information is rendered.
In my opinion, creating beautiful HD images starts with good lighting. These engineering tools aren’t going to make a poorly exposed and poorly lit image good but they can help make a good image great. Remember that for an 8 bit camera you’re trying to cram all the scene’s brightness information into 256 levels of gray. That’s not much to work with and if you’re dealing with extreme contrast, the menu can help but there are limits to what's practical.
The Variables:
MASTER PEDESTAL most noticeably affects the bottom of the waveform or the black/dark/shadow portion of the signal. If you think about your waveform as if it’s an actual pedestal or column you’ll see that by increasing or decreasing the Pedestal value, you’re actually lifting or lowering the entire signal. The picture portion of the video signal can’t go below 0 IRE so by lowering the Pedestal or “crushing the blacks” as it’s often referred to, what you’re actually doing is compressing the dark picture information down to pure black, 0 IRE. Some cameras have individual RGB Pedestal controls as well which can be used to affect chrominance in shadows.
GAMMA as a television engineering topic is a complex one. But an interesting one! Gamma as it applies to camera menu settings primarily affects the Mid-Tones by starting at the middle of the waveform scale and either lifting or lowering the information there, which by default can subtly affect the shadows and highlights as well. In addition to a controllable Gamma level, most video cameras have several preset Gamma options such as HIGH, LOW, HD, SD, CINE, etc. Some but not all of these pre-made Gamma curves actually are a combination of various Knee, Pedestal, and Gamma settings designed to create a specific effect such as wide dynamic range, crushed blacks and popping whites, an overall lifted look, etc. At the end of this article, I’ll provide an example of this.
BLACK GAMMA is for Gamma fine-tuning and controls the area in-between middle gray and black, about 10-40 IRE. Black Gamma is a great way to punch up the blacks without crushing them or to lighten the fill side of a scene.
KNEE is electronic highlight protection and controls the top of the waveform or the bright/white/highlight portion of the signal. Video cameras have traditionally struggled with highlights and clipping so Knee circuitry was designed to help overcome this inherent problem. Where you set your knee point or in other words, where you tell the camera to begin compressing the white portion of the signal will greatly affect the quality of your highlights. Knee is not a power window in a color correction suite though. Knee needs some IRE to work with and if you’ve already exceeded the limits of the sensor’s bit bucket, adjusting the camera’s knee circuitry is going to have little effect. The Knee features in a camera's Paint menu often has a lot of controls other than just where the compression begins - you can also inject or remove detail as well hue and saturation into highlights, etc.
GLOBAL GAIN is an important part of the equation but gain is an overall video level that either boosts or reduces the entire signal which affects both Chroma and Luma. It's important to draw the distinction between global gain and RGB gain which is how camera white balance is controlled.
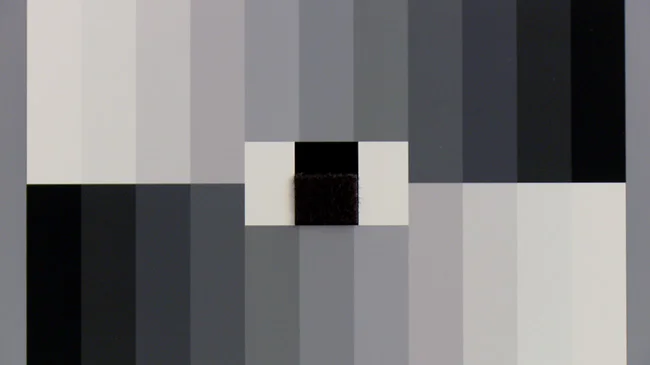
If you haven't seen them yet, please watch Andy Shipsides’ ENG Essentials on Abel Cinetech's Blog. His video on Gamma Matching is a great resource and is closely related to the information found in this tutorial. That video is more of a how-to on the subject whereas this is intended to illustrate how the camera menu settings specifically affect the grayscale and its accompanying waveform.












 © 2021 Bennett Cain / All Rights Reserved /